
Transforming Dark Wood: A Step-by-Step Guide to Faux Finishing Your Ceiling
- Rafael Ferraz

- Jan 25
- 3 min read
Dark wood ceilings can add warmth and character to a room, but sometimes they make a space feel smaller or heavier than desired. Lightening a dark wood ceiling can brighten the room and create a fresh, inviting atmosphere. Instead of replacing the wood, a faux finishing technique offers a cost-effective and creative way to transform the ceiling’s appearance while preserving its texture and charm.
This guide walks you through the process of painting a dark wood ceiling to a lighter wood color using a faux finish. You will learn how to apply a basecoat to cover the dark wood, hand-paint wood grain details, and finish with a glaze topcoat to unify the look. Along the way, you’ll find practical tips and examples to help you achieve a professional result.

Preparing Your Ceiling for Painting
Before starting the painting process, preparation is key to ensure the finish adheres well and lasts long.
Clean the surface: Remove dust, cobwebs, and grease using a mild detergent and water. Let the ceiling dry completely.
Inspect for damage: Fill any cracks or holes with wood filler and sand smooth once dry.
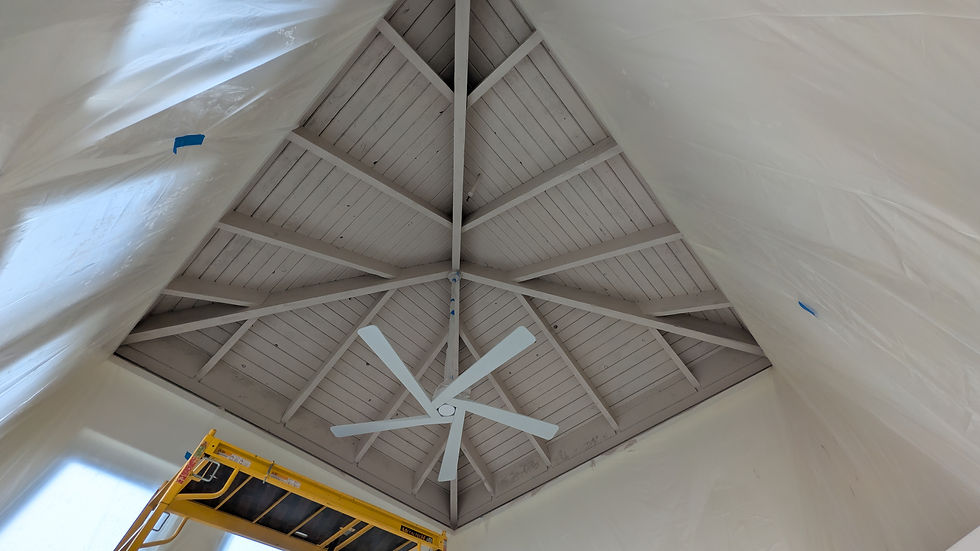
Protect the room: Cover furniture and floors with drop cloths. Use painter’s tape to mask walls and trim.
Ventilate the space: Open windows or use fans to maintain airflow during painting.
Proper preparation prevents peeling and uneven coverage, setting the stage for a smooth transformation.
Applying the Basecoat to Cover Dark Wood
The first painting step is applying a basecoat that fully covers the dark wood color. This layer creates a neutral canvas for the faux finish.
Choose a high-quality primer or base paint in a light wood tone such as pale oak or maple.
Use a roller with a medium nap to apply the basecoat evenly across the ceiling.
Apply two coats, allowing sufficient drying time between each.
Alternatively, use a paint sprayer to make the job easier. Make sure to prepare the room by covering floors and walls to prevent overspray. Always wear protective mask and eye protection if using this method.
This basecoat hides the dark wood and provides a consistent background for the wood grain details you will add next.

Hand-Painting Wood Grain Details
Adding wood grain by hand is what gives the ceiling its realistic faux wood look. This step requires patience and attention to detail.
Select a glaze tinted with a slightly darker shade than the basecoat.
Use a fine brush or wood grain tool to create natural wood grain patterns.
Work in small sections, painting long, flowing lines that mimic real wood grain and wood knots.
Vary the pressure and direction of your brush strokes to avoid uniformity.
Practice on a scrap piece of wood or cardboard before applying to the ceiling.
This hand-painted grain adds depth and texture, making the ceiling look like lighter wood rather than painted surface.

Applying a Glaze Topcoat to Unify the Finish
The final step is applying a glaze topcoat that blends the basecoat and wood grain details into a unified finish.
Choose a clear or lightly tinted glaze compatible with your paint.
Apply the glaze with a large brush or roller, working in smooth, even strokes.
Use a dry brush or rag to gently blend and soften any harsh lines or edges.
Allow the glaze to dry fully before applying a second coat if needed.
Finish with a clear protective sealer for durability, especially in humid rooms.
The glaze adds a subtle sheen and depth, enhancing the wood grain effect and giving the ceiling a polished look.

Tips for a Successful Faux Finish Ceiling
Work in good lighting to see details clearly.
Take breaks to step back and view your progress from different angles.
Use quality brushes and tools to avoid streaks and uneven texture.
Be patient with drying times to prevent smudging.
If unsure, test colors and techniques on a small hidden area first or create a sample on a scrap piece of wood.


Comments